We present many ideas here on VillageHaunt.com. Many of these ideas involve potentially dangerous project building and using tools that may have their own unique hazards as well. While we do hope you enjoy your reading about these interesting projects and activities, Tracy Murphy of VillageHaunt.com assumes no responsibility for any damages/injuries following these instructions may cause you or others of any kind. If you choose to use products in a way that the manufacturer didn't intend for it to be used as shown herein, you alone take full responsibility for any damages you may sustain. Many of our projects here require very hazardous tools and applications of tools that the novice or even the professional may not be able to use without some level of bodily/property damage.
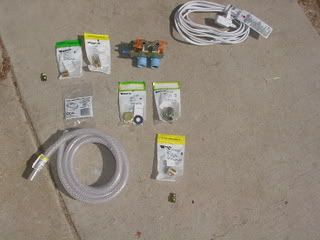
October 06, 2004 was when I took my little Home Haunt; know as Village Haunt to the next level by going air powered. It all started one February morning. As I was eating breakfast while reading a day old newspaper, I came across Death Fest 2004. Unfortunately I did not make it out to the event, but I did however write down Wil Shock’s Deathlord.net web address. This was the first time I had ever looked to the Internet for anything Halloween related. As I browsed through all of Death Lord’s many prop pages, I discovered the wonderful world of bicycle pumps and washer machine valves. Holly smokes, I just could not wait to get started.
Hopefully these FREE instructions will help
others to advance their Home Haunts. 
Please use these plans,
but don't forget to link my site ![]()
Questions? contact me at village_haunt@yahoo.com
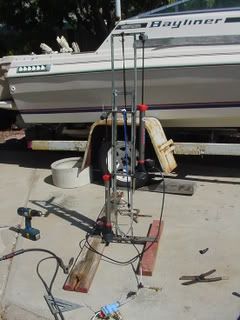
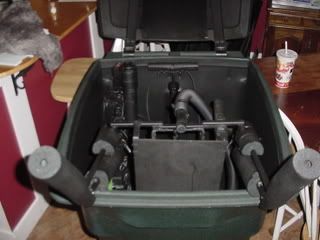
Part 1 The Start?
 +
+  =
= 
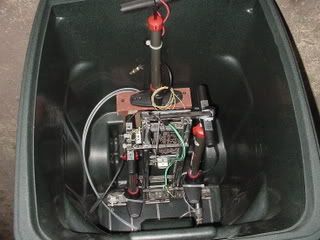
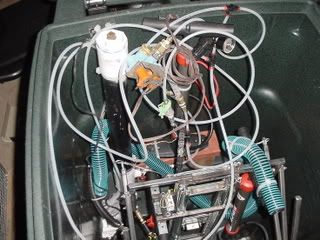
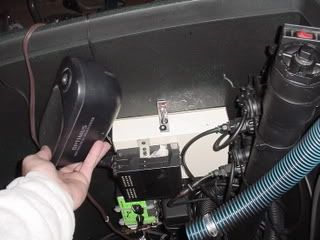
The Haunt-Master built-in IR sensor triggers the prop operation.
The Haunt-Master’s first controllable timer kicks on.
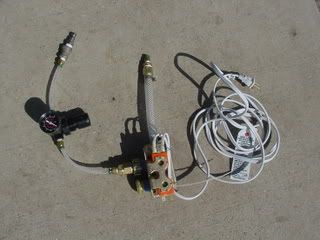
This applies AC power to both modified washer machine valves.
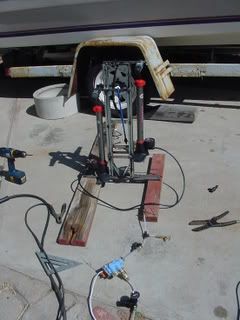
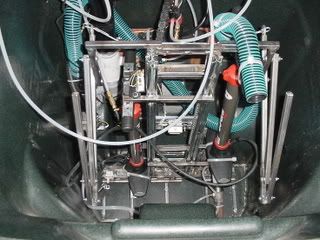
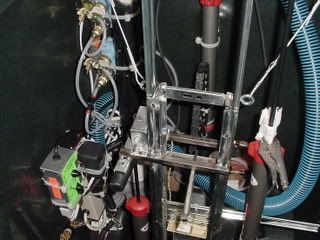
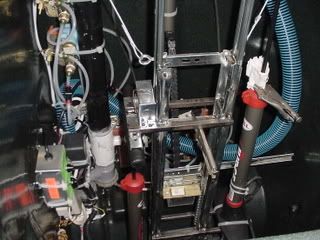
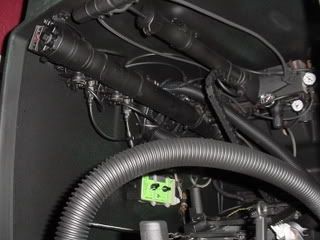
The first modified washer machine valve sends regulated air to the lid’s bicycle pump, and the second modified washer machine valve sends regulated air to the Vertical Slide Assembly’s twin bicycle pumps.
The Haunt-Master controller also kicks on the sound FX and the lighted eyes.
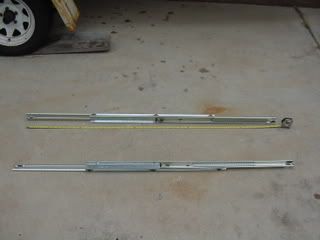
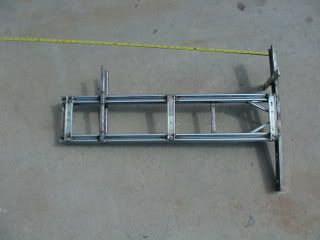
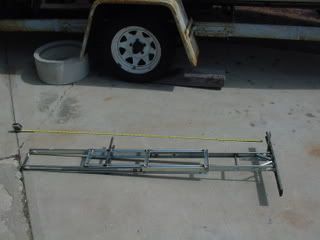
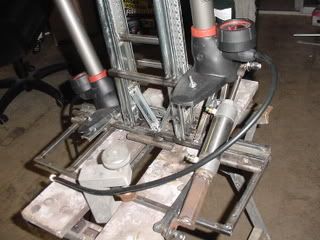
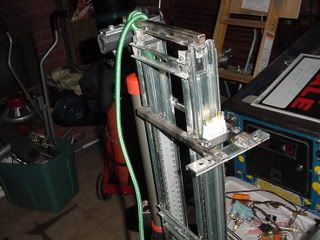
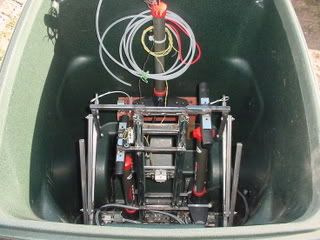
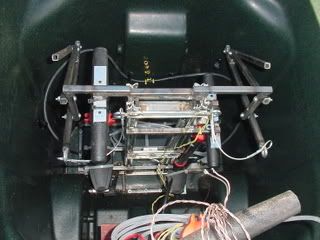
The Vertical Slide Assembly is timed to come up after the lid is at full open.
The retractable mechanical arms then extend at the full raise position.
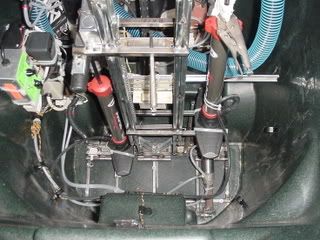
Then, twin series micro switches insure the Vertical Slide Assembly has come to its full height.
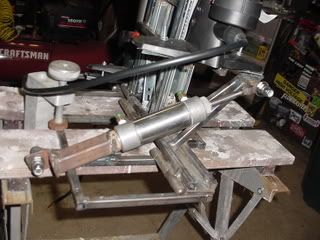
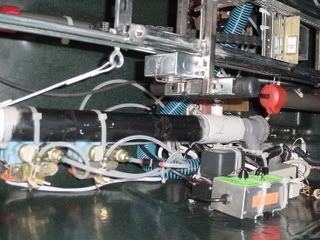
The twin series micro switches close the circuit to the tilt solenoid/cylinder system.
This forces the prop to JUMP forward! (Excellent for scaring!)
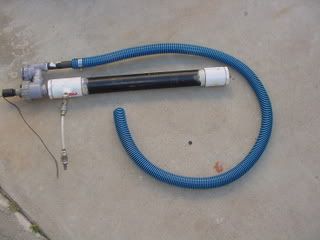
At the moment the tilt occurs another switch triggers the air cannon, BLASTING the VICTIM with a big pulse of air!
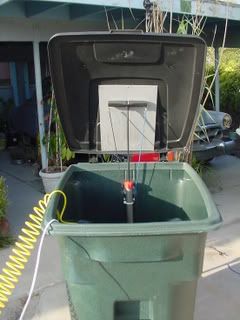
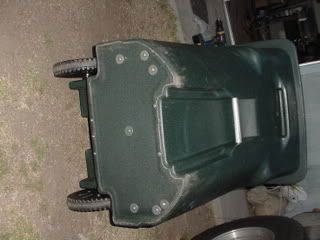
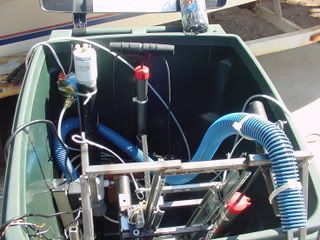
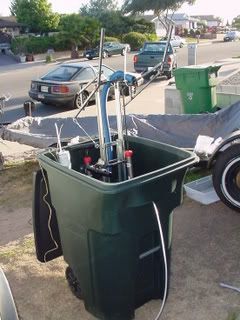
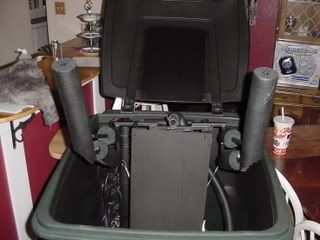
Finally the Haunt-Master’s second timer kicks in, taking power away from the lid and Vertical Slide Assembly, which causes air bleeds to retract the bicycle pumps. This causes the twin series micro switches open the circuit to the tilt solenoid/cylinder system causing the 3 way tilt solenoid to apply full air pressure to the tilt back circuit. This kicks the prop back to its upright position, where it slowly decompresses and retracts back to it's resting place inside the trashcan.
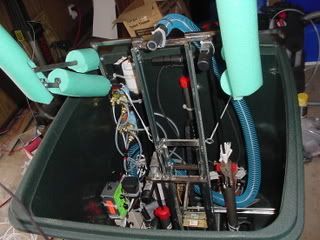
To get all of this to work together and be self-contained is really nice!
So now are ready to see how I did it? Well then, here we go.
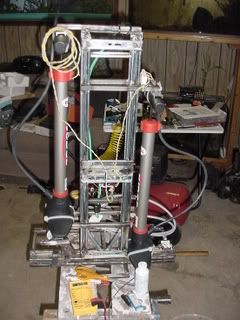
Part 2 The Tilt and MAIN
Part 3 Gettin' Canned
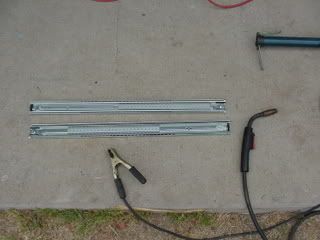
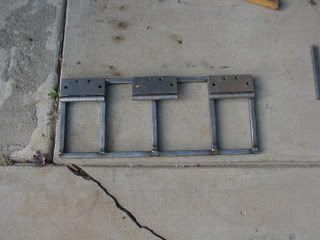
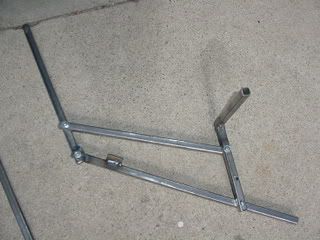
Part 4 Up In Arms
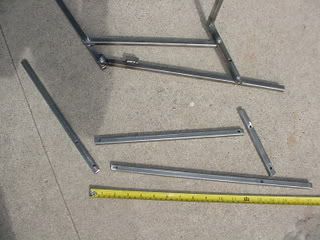
Then I built the Extending Arm Linkage (Stolen from Vilethings.com).<o:p></o:p>
Part 5 Black Out or Head Out?

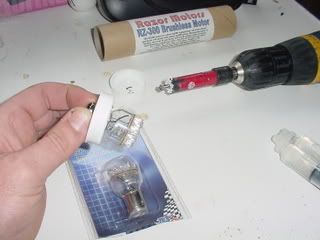
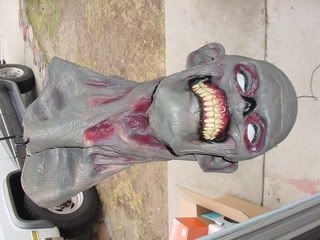
I soldered wires onto the lights and glues them into a cardboard tube using 5-Minute Epoxy (My favorite glue). I also cut a ping-pong ball in two and glued the halves into the tubes. I TESTED THE LIGHTS BEFORE INSTALLING THEM (IMPORTANT).
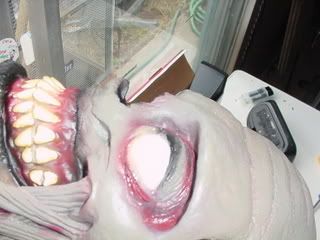
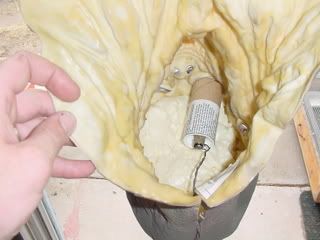
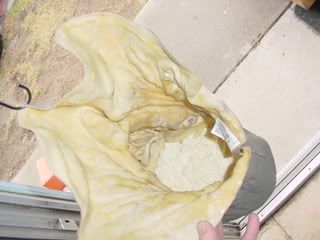
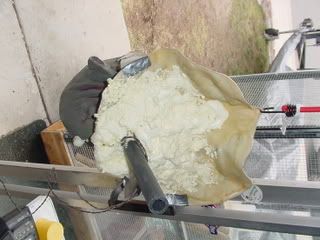
After I placed both tubes in place, I covered them with another layer of Great Stuff foam. I kept the foam level about even with the mouth. Let it dry before going on to the next step.
Part 6 Let's Make Some Noise!
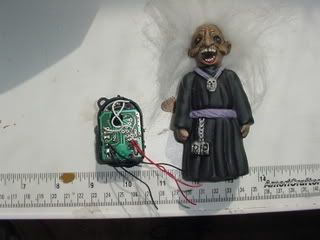
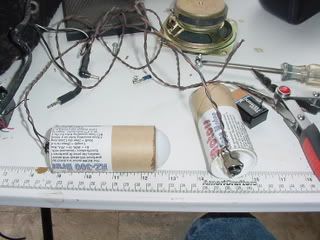
Moving on to the sound FX. I found this little screaming witch at Wal-Greens for about $3 bucks. I ripped out the sound box and wired it to a small 3VD power supply.
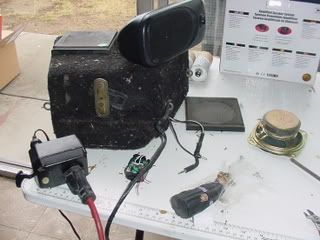
Hacked up my old homemade (Redneck) motorcycle tank topper stereo. Don’t laugh… I ripped out the twin $20 Radio Shack boosters. Hey, I said stop laughing at me.
I placed the witch sound box inside a metal enclosure and wired its speaker output into the first booster. I than took the first boosters output and wired it into the second boosters input. The second booster’s output was then connected to a single Radio Shack 3way speaker. Boosters were powered by a 12VDC power supply. (Yes, computer speakers would have been the right choice, but then I would still have all that Redneck junk lying around.)
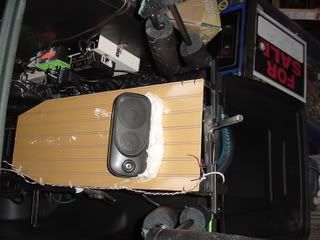
I mounted an old piece of paneling to the front of the raise assembly, and then I bolted the single speaker to it. I added more Great Stuff foam around the speaker to reduce bass vibration. After the foam dried I sprayed everything again with flat black paint.
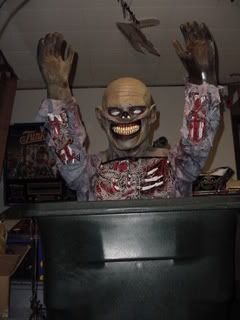
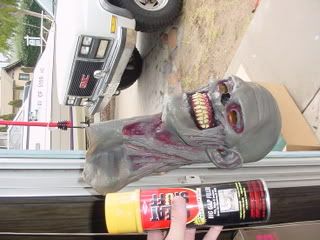
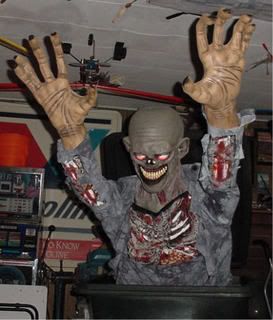
I dressed the TCT and installed the head. The shirt was from a zombie costume I bought and the rubber gloves were just crap I found.
 My 2006 Home
Haunt video from Halloween night. (Click the picture to see the
video)
My 2006 Home
Haunt video from Halloween night. (Click the picture to see the
video)